Showing posts with label Organization. Show all posts
Showing posts with label Organization. Show all posts
Sunday, July 17, 2011
Baby bedroom
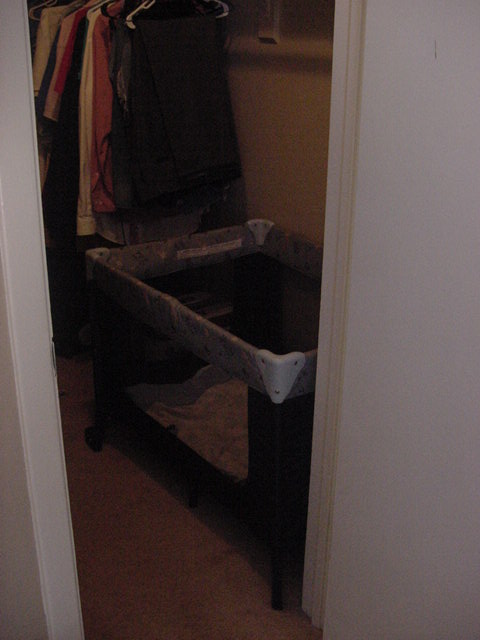
Lately I have been really tired and not very productive. I started evaluating what could be causing such fatigue. It wasn't hard to pinpoint, my son who just turned one STILL insisted on waking up several times at night to nurse. Sometime almost continually for several hours. With the older kids we would put them in another room and let them cry it out. Now we are in a two bedroom apartment and the bigger kids are in one bedroom, we're in the other (complicated, I know). The baby sleeps in our room. I would just let him cry it out in our room, but my husband has to get up early most mornings to work 10 hours of manual labor in the heat, so he could use as much sleep as he could get. I was exhausted and frustrated, and we even tried putting him in the living room, but it wasn't a good fit because the high ceiling and larger room echoed, waking up the other kids and keeping us up, plus we couldn't totally block out the lights from the parking lot outside. So I finally de-cluttered a little bit and moved some stuff around and viola!
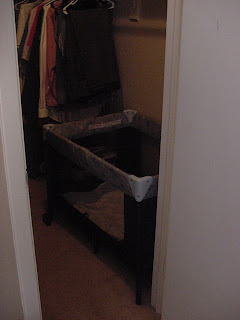 The closet is now the baby's bedroom! It stays dark, it's little warmer than the rest of the house, which is good because he almost always wakes up cold, and all the clothes and the size make it so his cries don't echo and wake up everyone. You know what? We've had him in the for several nights now and he's one woken up at night once! Even when my hubby and I are talking at normal levels in our bedroom. So it's been wonderful! We can sleep more and cuddle with each other rather than having someone between us. It's just all round great! When my husband goes into the closet to get dressed in the morning it's about the time the baby wakes up anyway, and about the time I get up so it works out great!


Saturday, April 16, 2011
New Toybox
We don't like to spend much money on anything if we can help it. We try to be creative in what we use and how we use it. When our oldest was small, we used storage crates or laundry baskets to organize the mass amounts of toys that come with other people knowing that you have a child, we had a series of big moves that forced us to seriously limit how much stuff we had (although that was really hard, it was such a burden lifted to not have as much "stuff"). Since we've settled a little bit and aren't moving nearly as much anymore, and only making small moves when we move, plus we've had two more kids, they kid stuff seems to grow exponentially! Cardboard boxes became our toy box of choice, which worked fine when we had nothing else, but started to fall apart. I tried fixing the box with duck tape, but the tape came off and my kids used it for ghetto bracelets, classy.

See what I mean?
So I decided it was time to bite the bullet and get something more permanent. I went to Walmart and got one of those big plastic buckets they display holding various party things like drinks or whatever. I think it was just under $6. Then I had little helpers transfer they toys and viola!
 Much better! And you know what else is neat about this?
 It fits in the closet! So the bedroom feels even more open and organized in the kids room! And they enjoy more room to run around and play!
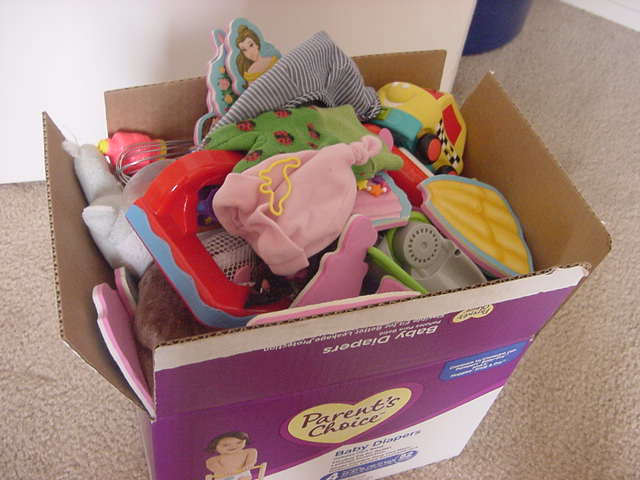
Something that I was awed by too, was that not all the toys from the cardboard box fit into the big blue bucket, so my kids VOLUNTARILY, without any prompting from me, went through their toys and came up with stuff that they didn't want anymore to donate to charity! Keep in mind these kids are almost 3 and 5! The only problem was that they were willing to give away the baby's toys, so I had to regulate that a bit. But here's the stuff they CHOSE to give away!
 That's the biggest box that Walmart sells diapers in, packed with toys for charity! I still can't believe it! I'm so proud of them!

See what I mean?
So I decided it was time to bite the bullet and get something more permanent. I went to Walmart and got one of those big plastic buckets they display holding various party things like drinks or whatever. I think it was just under $6. Then I had little helpers transfer they toys and viola!


Something that I was awed by too, was that not all the toys from the cardboard box fit into the big blue bucket, so my kids VOLUNTARILY, without any prompting from me, went through their toys and came up with stuff that they didn't want anymore to donate to charity! Keep in mind these kids are almost 3 and 5! The only problem was that they were willing to give away the baby's toys, so I had to regulate that a bit. But here's the stuff they CHOSE to give away!
Monday, April 11, 2011
Plastic Bag Holder
 What do you do with all the plastic grocery bags you get from the store? Do you just throw them out? Do you use cloth bags (if so, power to you!), or do you put them in one place to use later? We use ours to wrap poopy diapers and as liners for the small bathroom garbages. But how to keep them organized so it doesn't overwhelm you and make you want to scream when you try to get a bag? A bag holder! Hold on, we're watching our money and every penny counts, that's money we could use to buy diapers for the kids to poop in and require the need of the organized bags! That's where it's handy to be resourceful and a little creative! This is my bag holder! (My apron is behind it if you're wondering) It probably took me an hour to make (that's an hour of actually working on it, start to finish was much longer since I kept having to do other things like make dinner, feed the baby, and so on). It was really simple.
 I used some scrap fabric from non-flattering and worn out clothes, and some yarn I had sitting around that needed a job. the fabric I wanted to use was only usable in small strips so I sewed the strips together to make a big rectangle, about 20 inches wide and 24 inches long. You can change this to your own needs, but this worked for us!
I folded the two shorter sides over about 3/4 of an inch and sewed them as close to to non folded edge as I could, this made two long, tube-like pockets.
Then I folded the fabric longways, so the tubed pockets were on the top and bottom with right sides together.
Starting AFTER the first pocket, I sewed a straight seam that ended BEFORE the other pocket, you don't want to sew your pockets closed!
Then I took my yarn and made two crocheted chains about 9 inches long. Pieces of yarn or elastic that long work fine too, I just did yarn because I had no elastic, and the chain gave me a little elasticity.
TIP: If you have a worn out fitted sheet that you're wanting to use for something else, the elastic from that would be great in this project!
To get the elastic or yarn to go into the tube like pockets, put a safety pin through the end and then you can wriggle it through by feeling it. This works much better that tying to jam or hook it through with a crochet hook (I speak from experience).
Tie the yarn or sew the ends of elastic together.
Next, I tied some more yarn to the top yarn to make a loop I could hang it from.
Easy cheasy lemon squeazy! Stuff bags in the top, pull them out from the bottom!
Saturday, April 9, 2011
Toddler Bed bolts
The label to this post should probably be something more like "Stuff I've been meaning to do for a while and finally got around to doing it," but that would be almost every post in this blog, except maybe some of the recipes (but you could argue that I've been meaning to post that recipe for a while and finally got around to posting it, so nothing's immune!) so I won't do that.
We got this toddler mattress several years ago, and them some family members found a second hand frame and gave it to us. When we put it together, we didn't have the right size bolts, so we just used what we had an warned our kids to be careful. We kept MEANING to get bigger bolts and replace the current ones, but it was very low on our priority list, so naturally, it didn't get done. When we moved we took the bed apart and said that we would only put it together with the right sized bolts! As you can imagine, it therefore sat in the kids room, leaned up against the wall, with a mattress on the floor as our two year old's bed for several months. Well I finally decided to go get those bolts! I measured the diameter of the holes and then got the closest match at the store that I could find, they were too big, so I had to take them back and exchange them and I FINALLY got the bed put together!
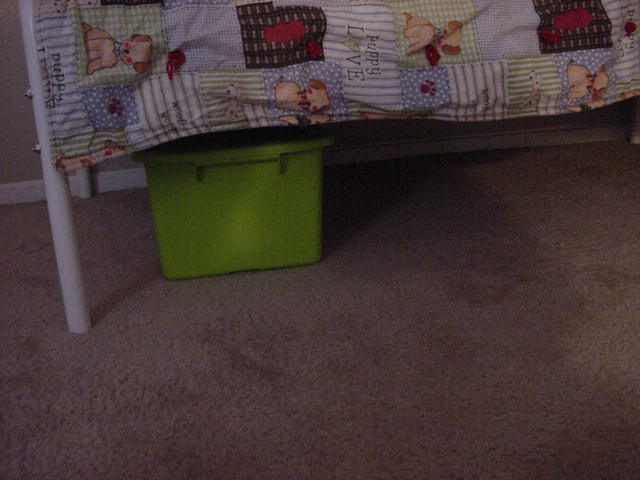
 Look! It looks like a real bed! We're slightly less ghetto in one area of our lives! But the best part?
 Storage space UNDER the bed! That's our Lego box, and it fits under there so perfectly! I will most likely put more Bins of various things under there as need be, but for now the space is available!
Yea for overcoming procrastination in at least one thing!
We got this toddler mattress several years ago, and them some family members found a second hand frame and gave it to us. When we put it together, we didn't have the right size bolts, so we just used what we had an warned our kids to be careful. We kept MEANING to get bigger bolts and replace the current ones, but it was very low on our priority list, so naturally, it didn't get done. When we moved we took the bed apart and said that we would only put it together with the right sized bolts! As you can imagine, it therefore sat in the kids room, leaned up against the wall, with a mattress on the floor as our two year old's bed for several months. Well I finally decided to go get those bolts! I measured the diameter of the holes and then got the closest match at the store that I could find, they were too big, so I had to take them back and exchange them and I FINALLY got the bed put together!

Yea for overcoming procrastination in at least one thing!
Subscribe to:
Posts (Atom)